How does an injection mold go from an idea to parts? Rather than telling, we show: the shots below are from our own mold shop — a 12-cavity injection mold, photographed through a single build day. Plates on the CNC in the morning, press trial at noon, final hand-fitting in the afternoon.
For the economics of our aluminum tooling approach: Aluminum Mold or Steel Mold? · Service details: Plastic Injection Mold Making
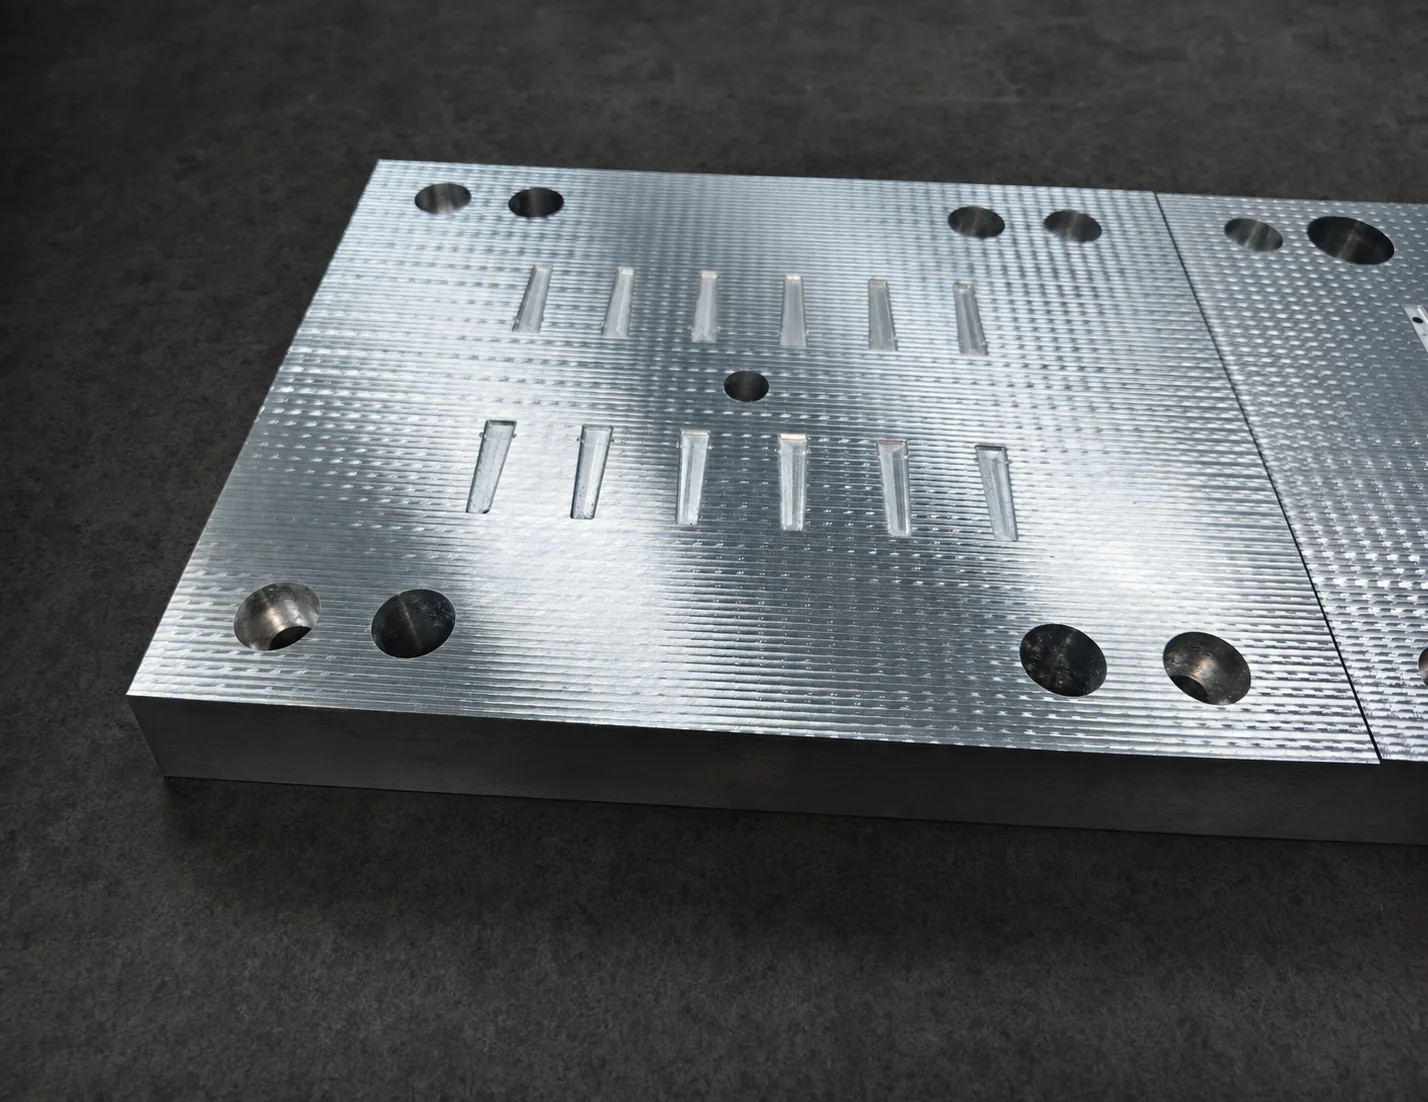
1) Cavity and Runner Plates on the CNC
The cavity plates are the heart of the mold. In a multi-cavity mold, the cavities are laid out symmetrically, and the runner channels that distribute molten plastic evenly to every cavity are machined into the same plate.
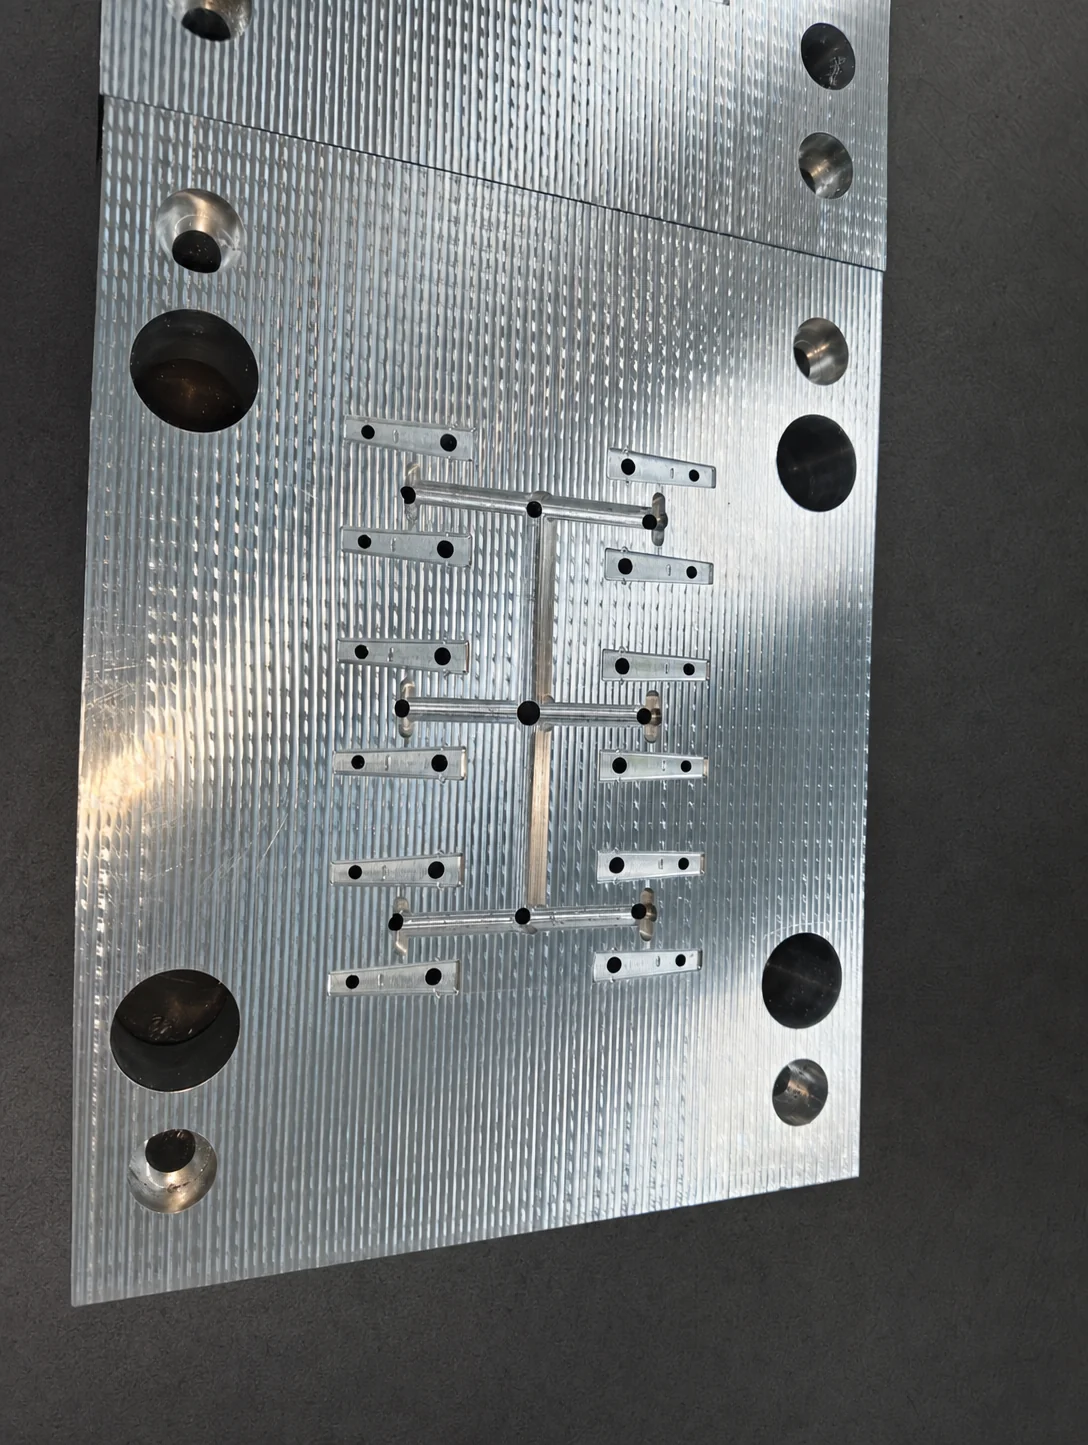
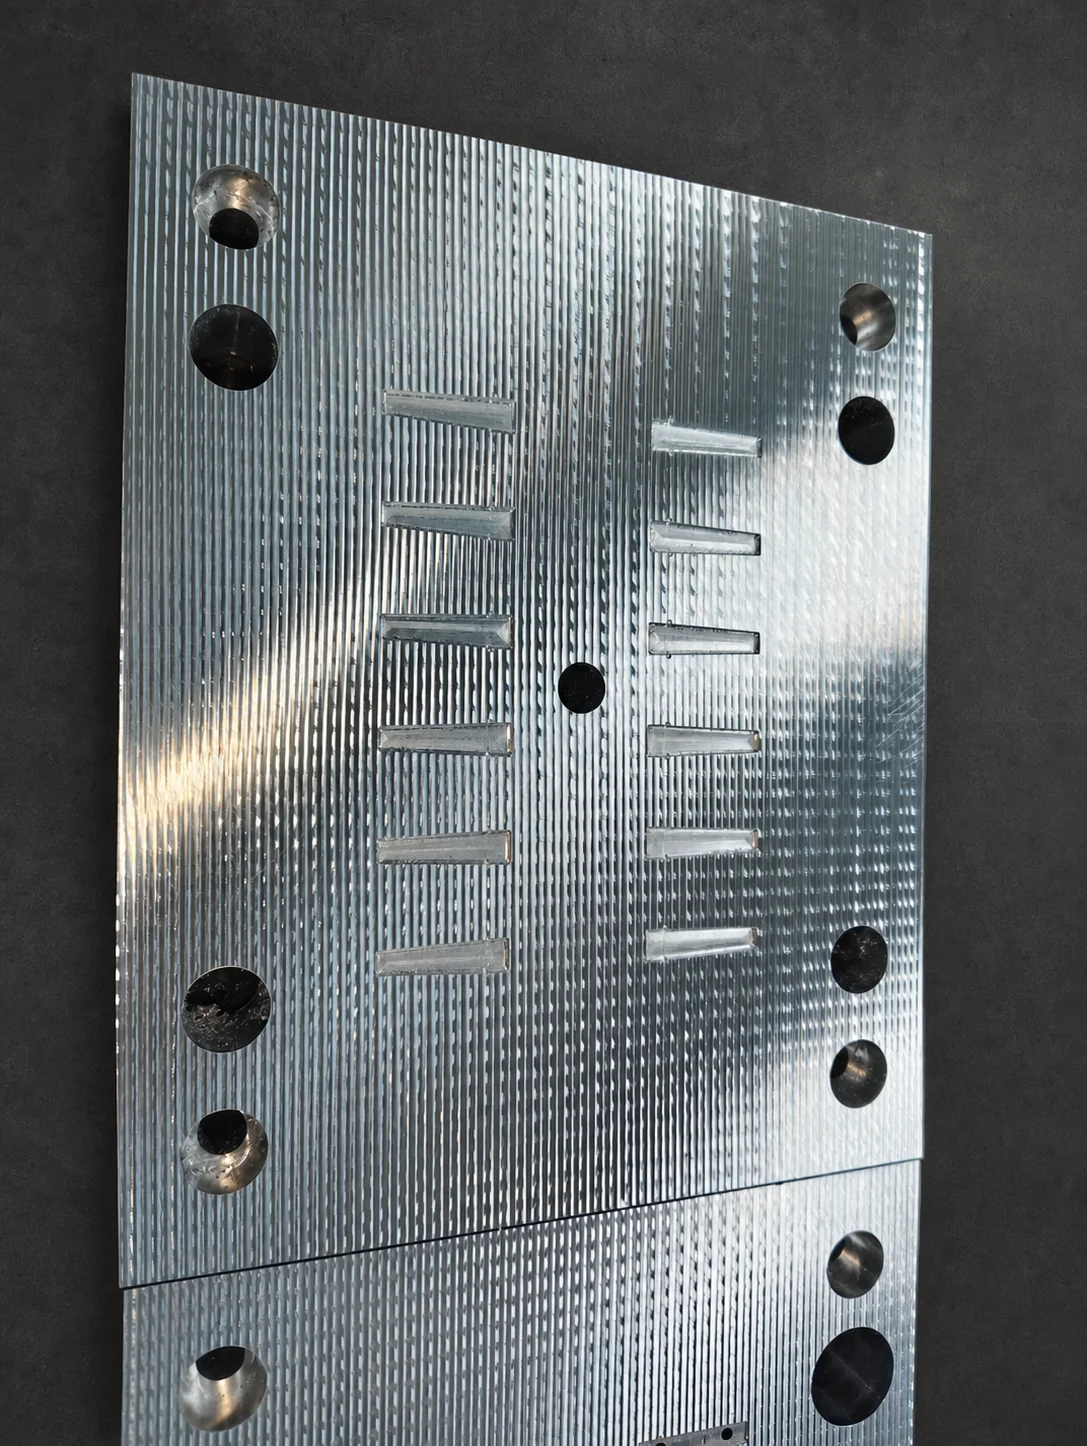
The regular milling texture on the surface is intentional: cavity interiors define the part surface, while the shut-off faces define sealing. The two are machined to different tolerances.
2) Assembly, First Mounting and the T0 Trial on the Press
Once the plates are machined, the mold is assembled: guide pillars, springs and the ejection system go in.
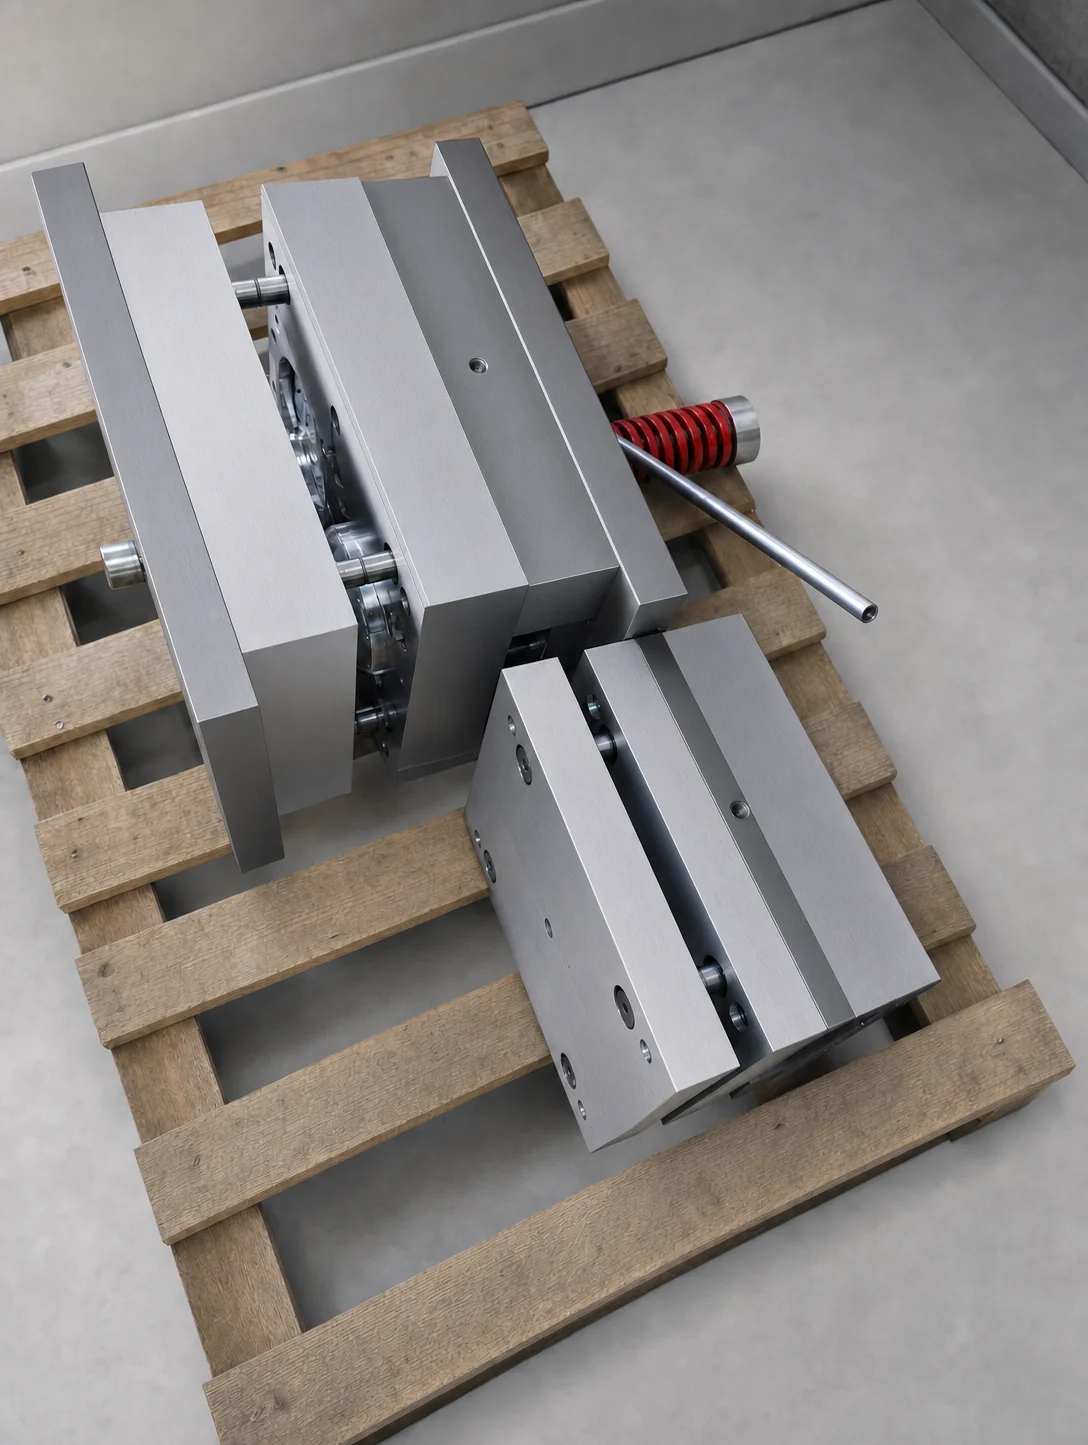
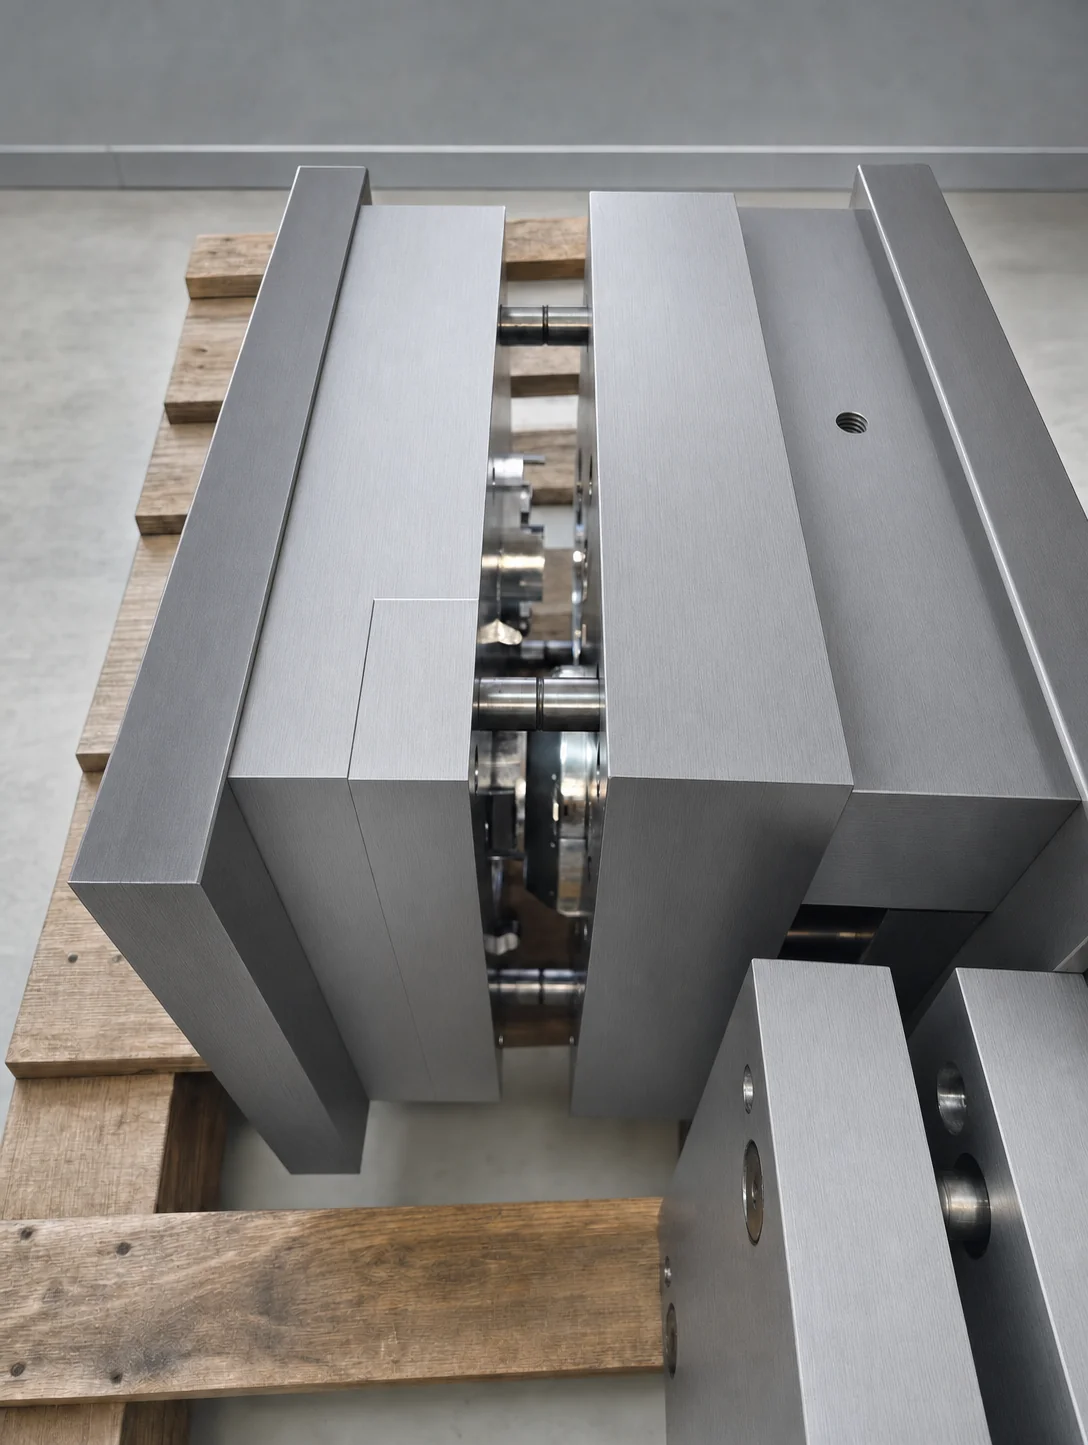
The mold is then mounted on the injection press. T0 (dry cycling): the mold is opened and closed between the platens while the ejection system and guide pillars are checked.
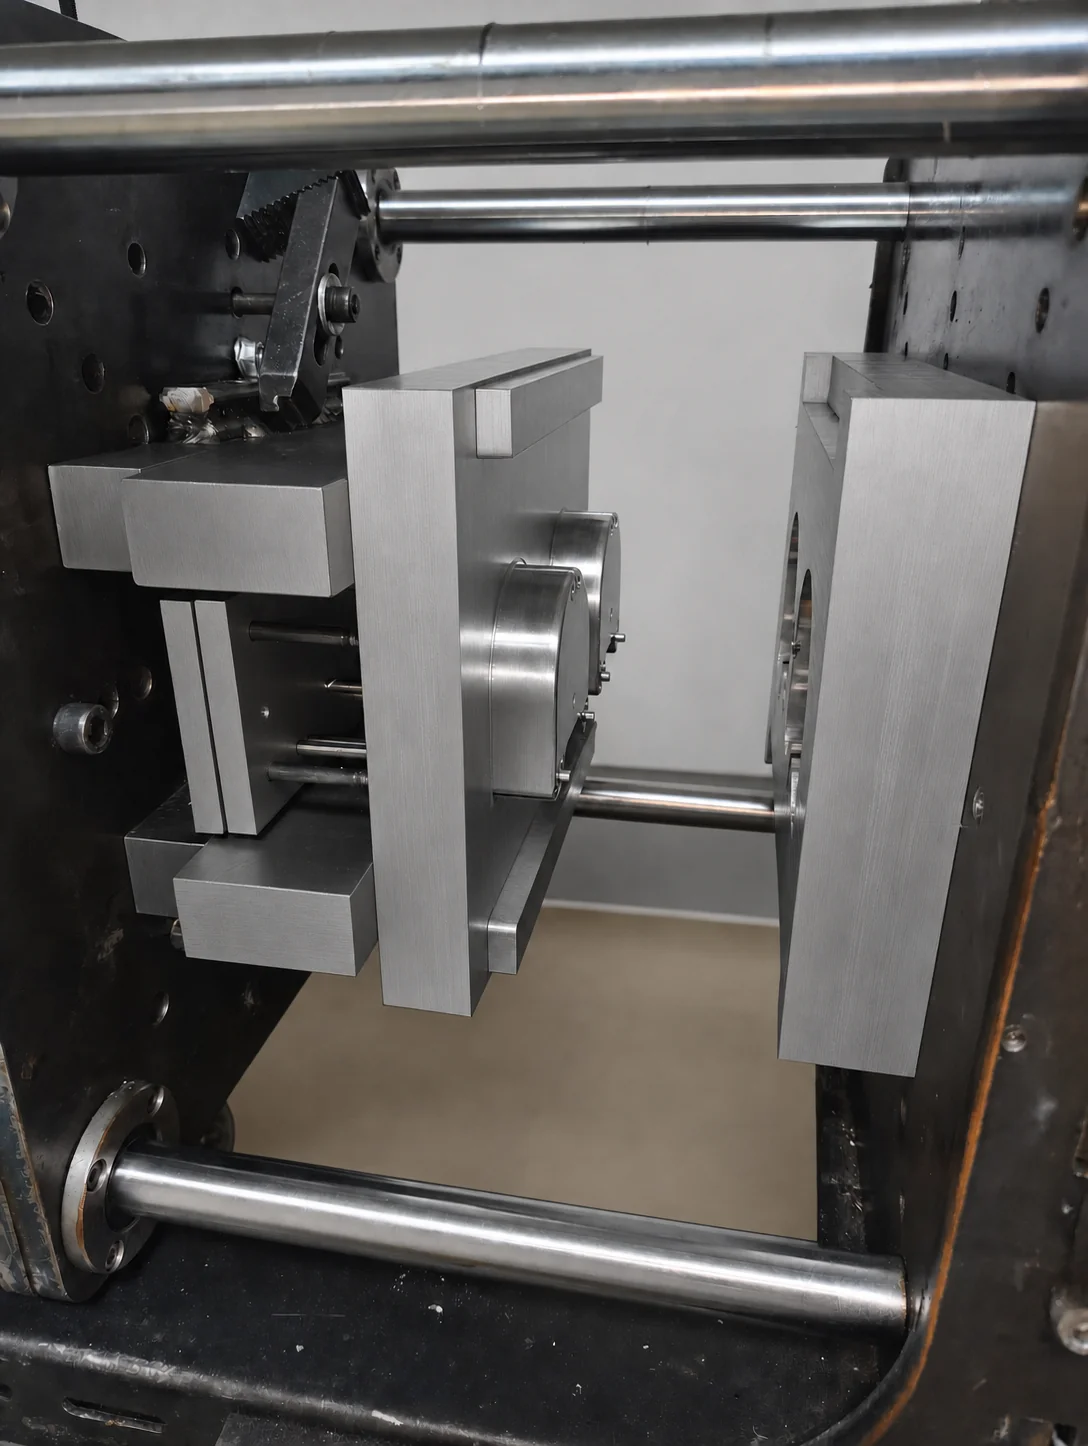
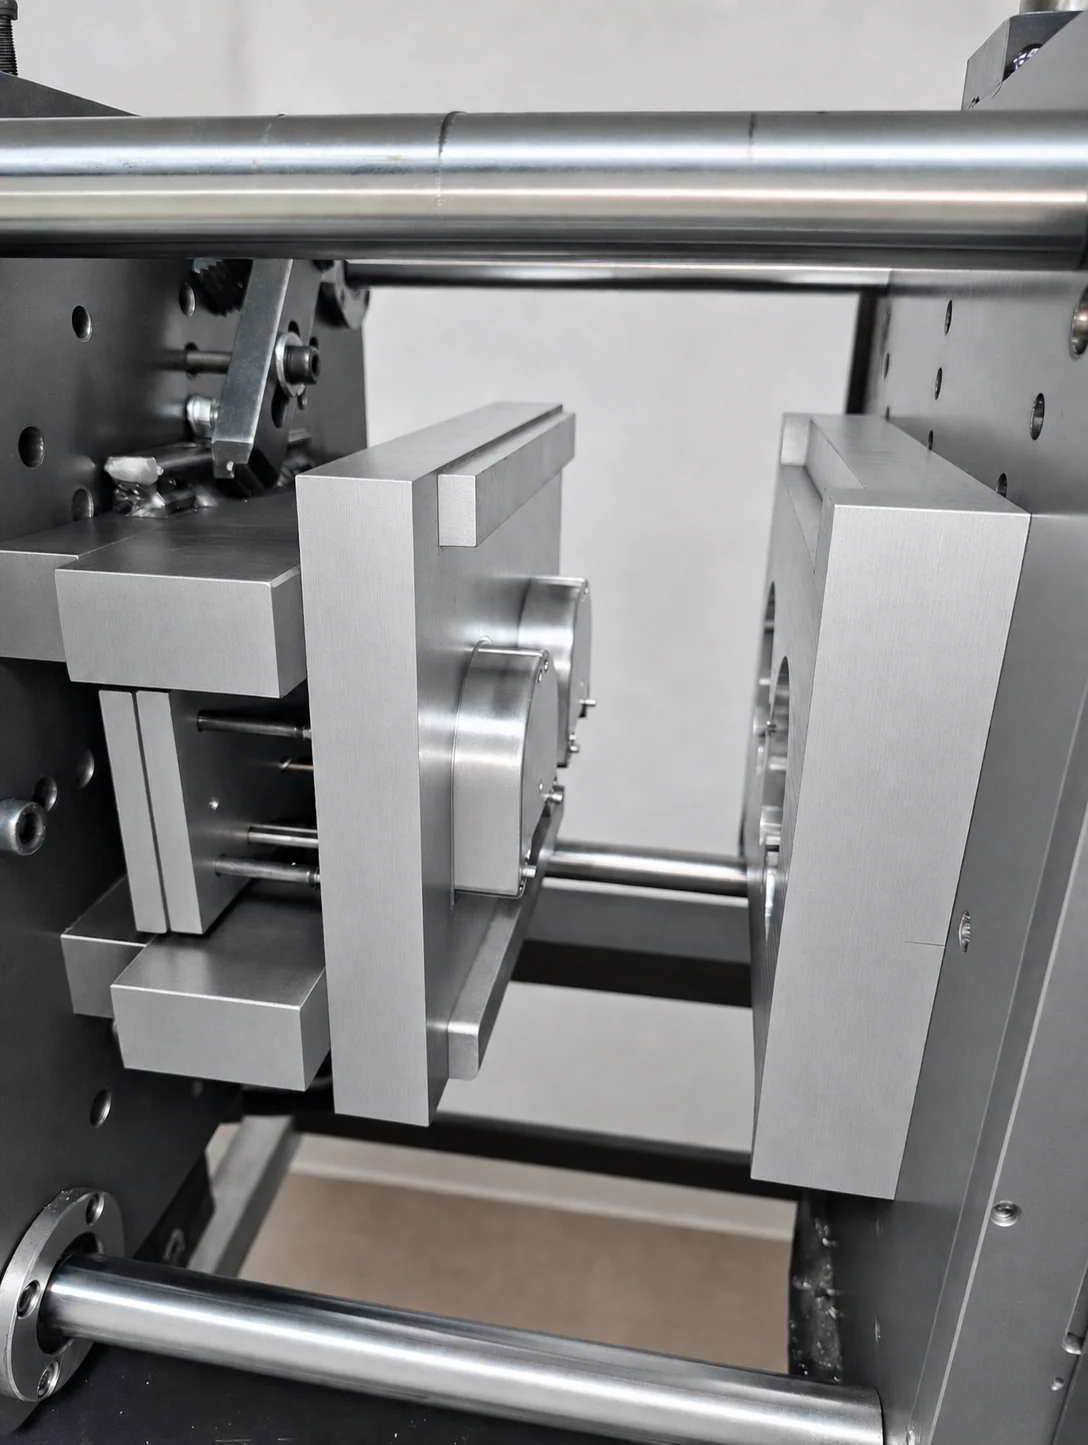
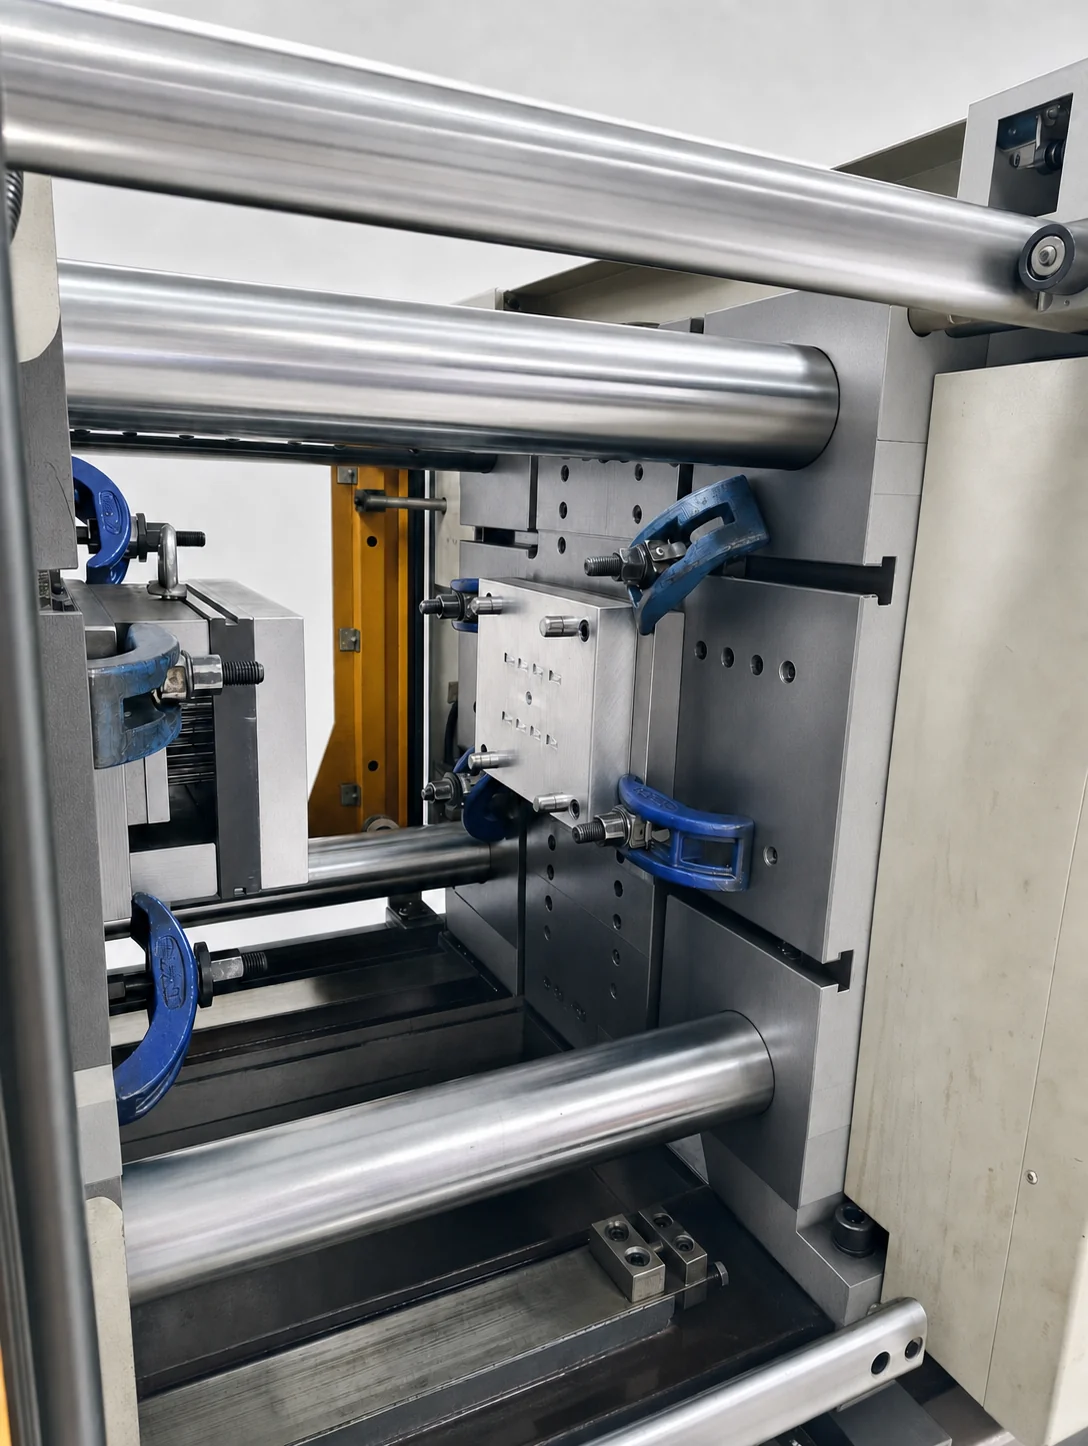
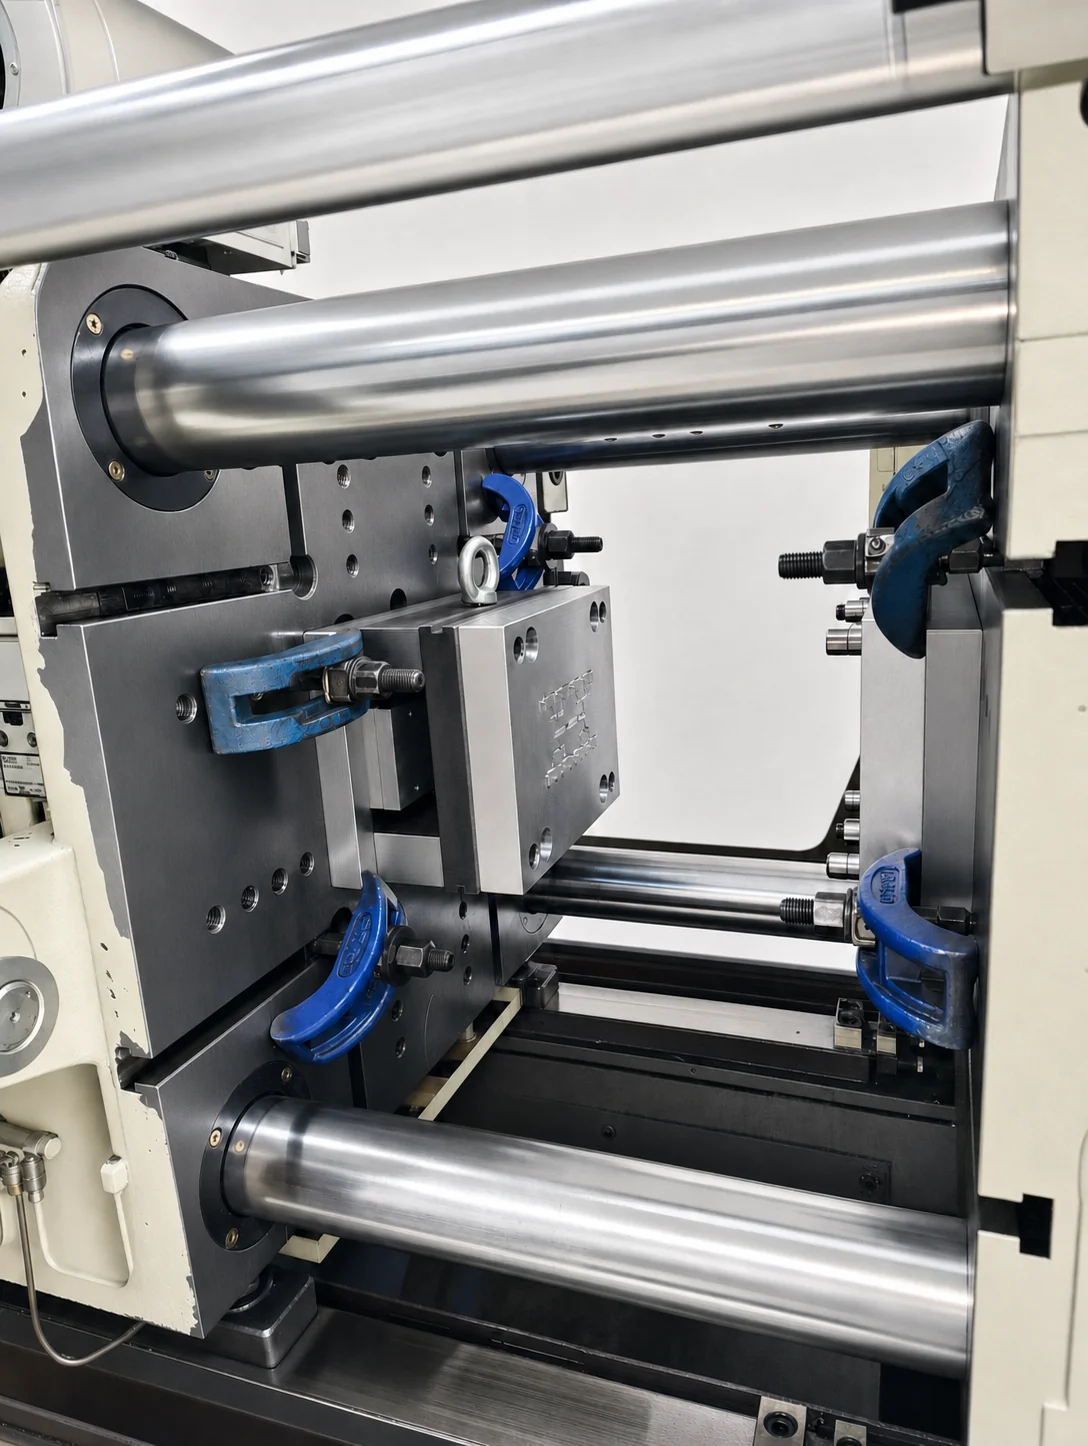
Depending on part and mold size, trials run either on the desktop press or on a 150-ton clamping force injection machine — here the same mold is clamped into the 150-ton press with blue mold clamps:
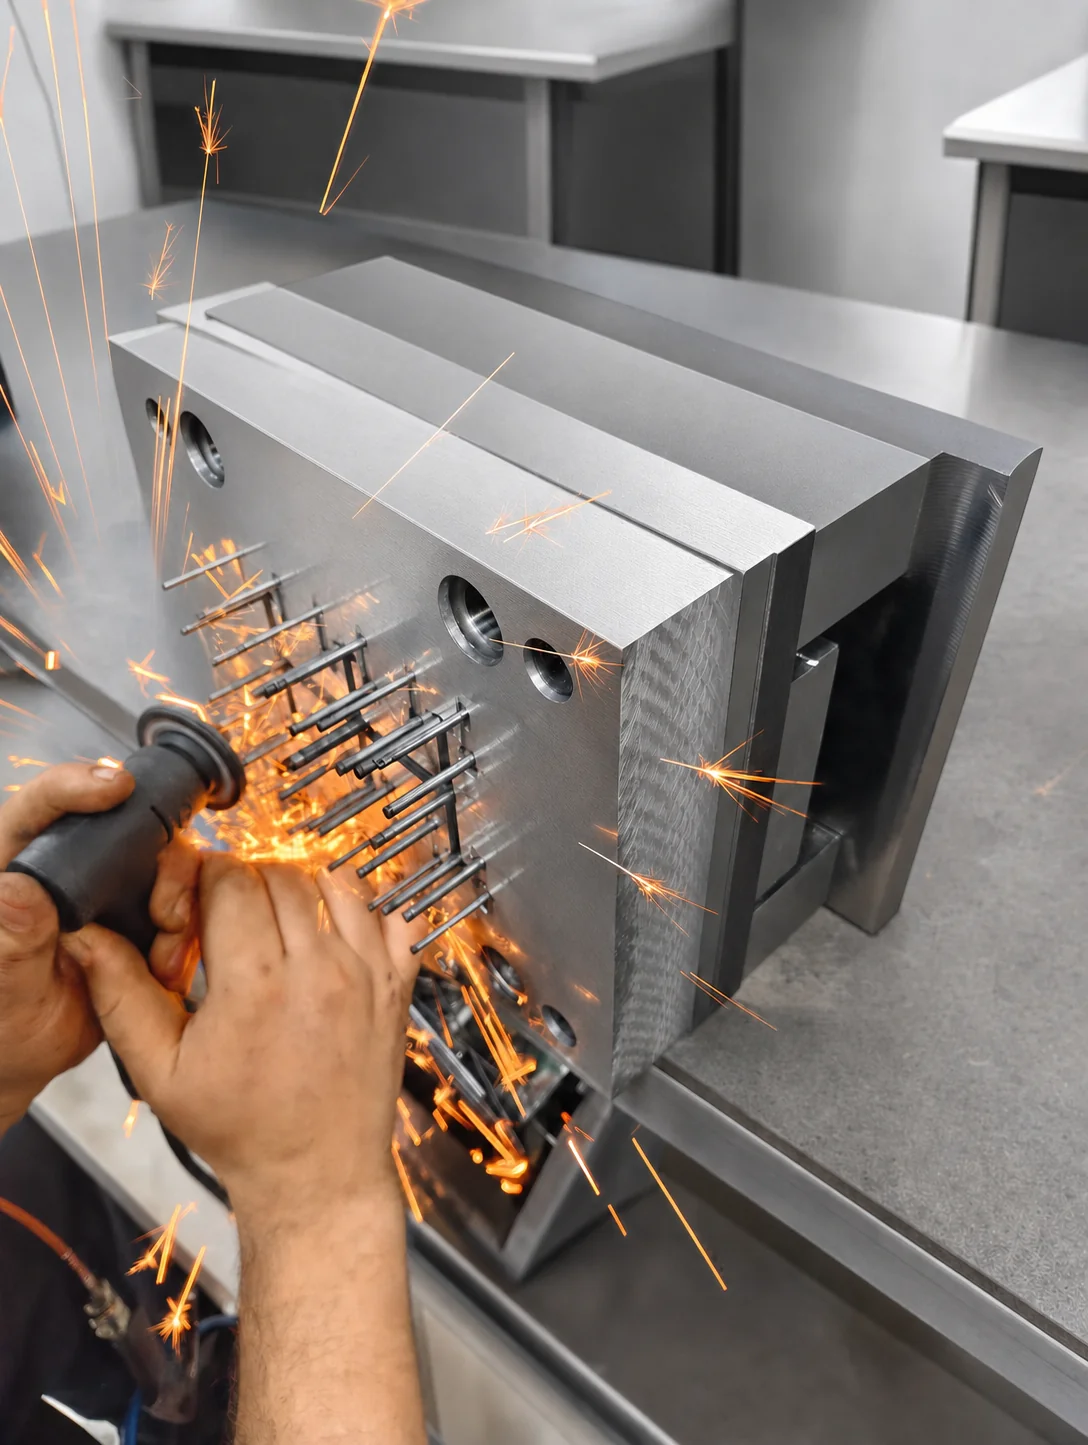
3) Hand-Fitting the Ejector Pins
The final step is handwork. The tips of the ejector pins that push the part out are ground perfectly flush with the cavity surface — a proud pin leaves a mark on the part, a recessed one leaves flash.
Why Multi-Cavity?
A 12-cavity mold produces 12 parts per cycle. At a ~30-second cycle that is ~1,400 parts per hour — for small plastic parts, cavity count is what really drives unit cost down. More cavities also mean a more expensive mold; the right cavity count sits at the intersection of your target quantity and tooling budget. We work that trade-off out with you at the quoting stage.
Have a similar part? Send your STEP/STL file and we will come back with a cavity-count recommendation, a firm price and lead time → Let’s Talk About Your Mold